30 Minute Decor Refreshers {easy and affordable}

Can you believe May is almost here?  Before you know it store shelves will be stock with holiday items and we’ll all be planning to ring our jingle bells.   This year is soaring by way too fast and to be honest it has me a little anxious.  The anxiousness I feel has put me in the mood for change.  I’ve been finding little (and inexpensive) ways to change-up my fashion, my routine and my decor.  Surrounding myself with a new look feels good and has squelched my desire to go out and buy a bunch of new stuff (except for the two new pair of shoes I just bought 🙂

  Today I’m going to share with you simple decorating ideas to refresh your home and later in the week I’ll  share easy ideas to change-up your fashion style.

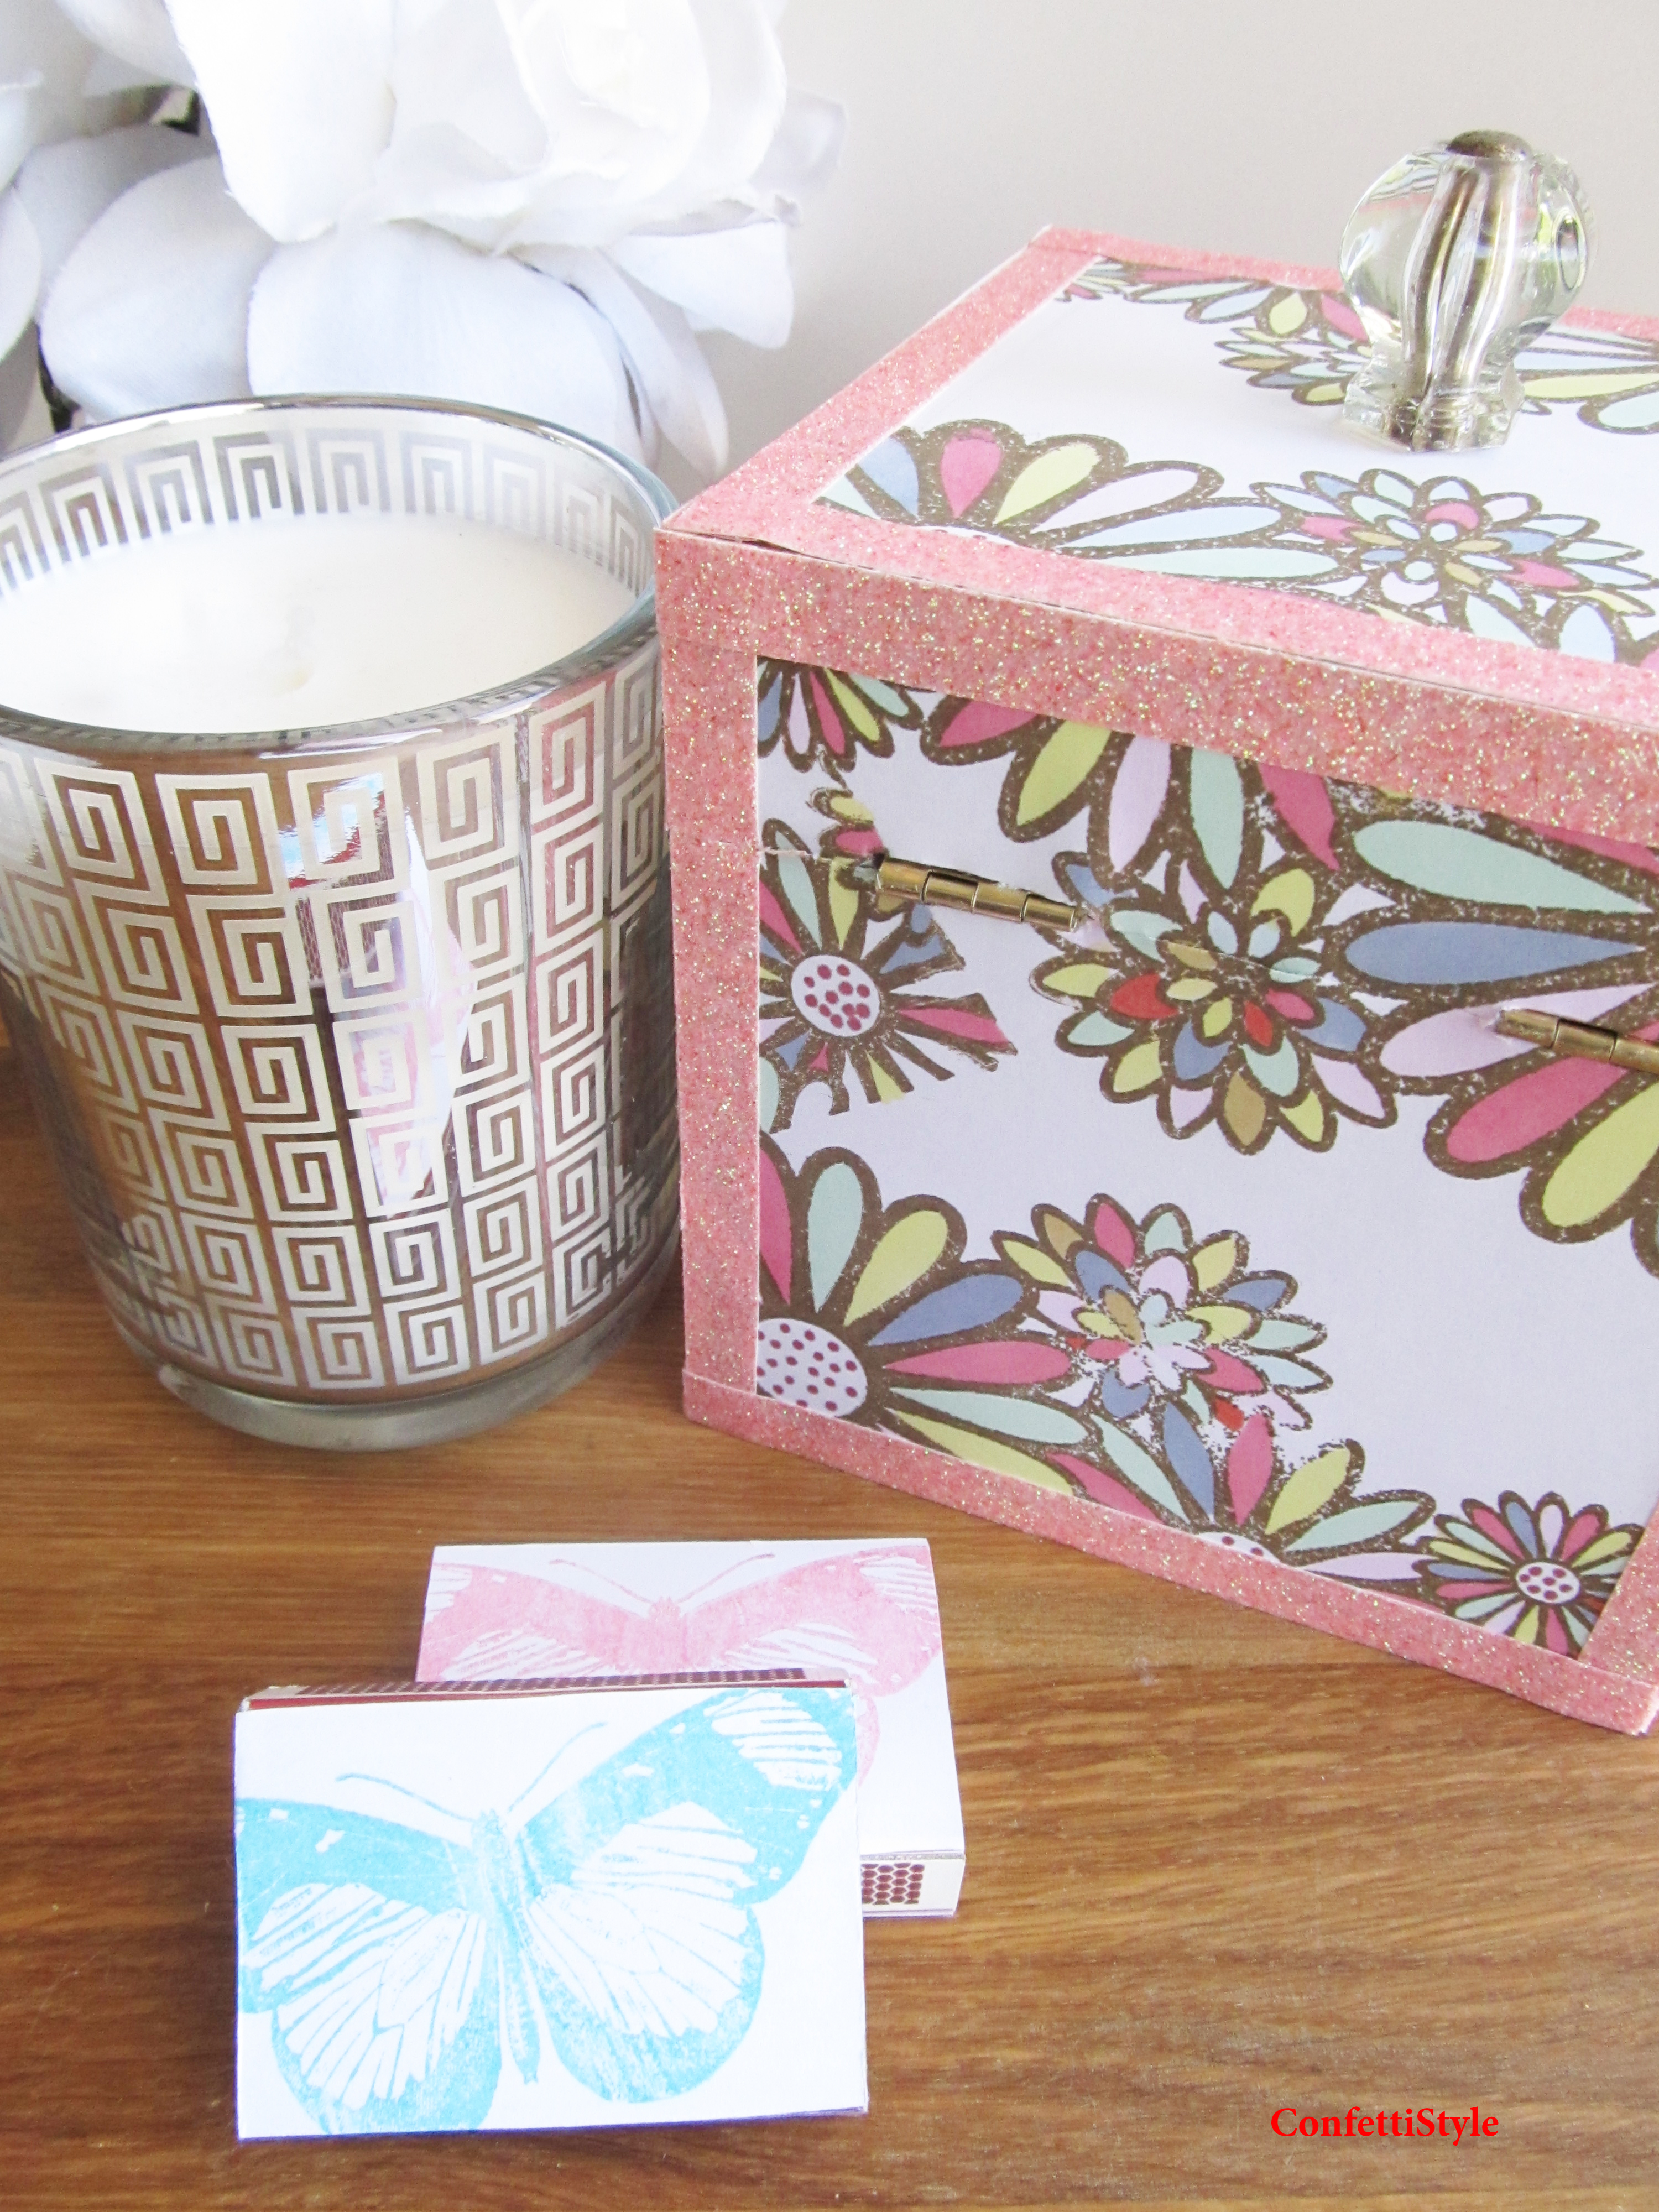
Let’s take home decor!  I love it when you can change the look and feel of your decor without spending a lot of money or exerting a lot of effort.  Many times a new look can come from using what you already have and other times spending a little money can make a big impact. Whether you rent or own, have a large house or a small one, there are easy ways to make major changes in your decor in less than 30 minutes.  Here are some of my favorite quick change decorating tips.

Slide1

********

 DO THE SHUFFLE

One of the easiest and no-cost ways to freshen up your decor is by moving things around.  Shuffle the seating in your living room or switch out artwork from one space to another.  Use what you have and give you home a new look.

Move Furniture

  GO GREEN

Plants bring a sense of energy and life to a room so mix a few plants into your decor and feel and rooms come alive.

Succulent Decor via HGTV

 ORGANIZE IT

Having things organized is one of the ways that I make my home feel good.  Spring is a great time to de-clutter, donate what’s no longer serving a purpose and organize everything from the kitchen to the closet.  Your home will breathe a sigh of relief and so will you.

Organized Mud Room

  GO THRIFTING

When it comes to adding new accessories into your decor, it doesn’t have to break the bank.  Visit a few of your favorite thrift stores and see what gems you can find.  And as you shop, don’t overlook something that may need a little TLC with paint or fabric.

Thrift Store Decor

Painted vases via It All Started With Paint

 PAINT SOMETHING

Revive an old piece of furniture with paint or think about painting an accent wall in your home.  Painting is cheap, easy and yield results in a flash.

Painted Furniture

 RE-WORK YOUR BOOKSHELVES

You’ll be amazed at how spending a little time taking things off your bookshelves and re-arranging the items can freshen up your decor. Once the shelves are cleared, place the items you love most first and then work your way to your least favorite items.  You may realized that the items are the bottom of the stack are no longer needed which will help you de-clutter.

 Bookcase Decor via BHG

  CHANGE UP YOUR TEXTILES

For less than $10 you can replace the pillow covers on your sofa with new ones from Hobby Lobby and for less than $40 you can replace the duvet cover or drapes in your bedroom with something fresh from IKEA.  When adding the new textiles, think about changing up your color theme which will be an instant style refresher.

White with Jute Trim $9.99 Orange and White Swirls Pillow $7.99

  PAINT SOME FRAMES

Have you ever thought about giving your artwork a new look by painting the frames?  A quick coat of paint can change the look of a single piece of art or and entire gallery wall.

Painted Frames

So what’s you favorite way to refresh your decor?

Shelly

All Wrapped Up For Christmas

Christmas Gift Wrap 2014 by ConfettiStyle (1) copy

T-minus 5 days and counting until Christmas. 

The Christmas shopping is all done and boxes have been shipped.  Things are starting to settle down around here and that has given me a chance to get most of my holiday gifts wrapped.

I love wrapping gifts and it was so much fun this year to coordinate my gift wrap with my holiday tartan plaid theme.

Here’s a look at my 2014 Holiday Gift Wrap and a few tips that will help you put the finishing touches on your own gifts.

Read the Post

DIY Christmas Countdown Board

I hope everyone had a great Thanksgiving and enjoyed the long weekend.

Christmas Countdown Chalkboard (13) copy

I’m excited to share my latest DIY Christmas craft with you today!  I had an idea in my mind to create a Christmas Countdown using my chalkboard and originally planned to use burlap bags to hold a daily treat.

I was going to stencil numbers onto the front of each bag and hang it on my chalkboard with a magnetic clothes pin.

Each bag was going to hold a little treat  or a special message that my hubby and I could share each day.

Christmas Countdown Chalkboard (16)

My Christmas Countdown was going to be  cute and whimsical, and fit in with my black, white and red tartan Christmas decor theme.

Then it happened…

Read the Post

A Uniquely Crafted Gift

I love to give gifts and when I can give something that is unique and unexpected that makes gift giving even more fun for me.

DIY Sewing Kit 6

This gift is going to my brother who recently moved from Kentucky to Washington DC and is without some key household items that can make life easier.  One of those items is a sewing kit.

DIY Sewing Kit

As a professional who is on the go constantly and doesn’t always have time to run to the cleaners or an alterations person, I thought it would be nice to make him a sewing kit for when he needs to mend a hem or sew on a button in a hurry.

And of course I had to do a little crafting to make his sewing kit uniquely his.

DIY Sewing Kit 8

I painted the top of a wood box, purchased at Hobby Lobby, in a stripe pattern.  I used different shades of grey and added white to keep the look masculine.  The base of the box is solid grey.

Sewing Kit 2

Once painted I used the Mark Montano by Craffiti Direct Vintage Scissors stamps and created a label for the top of the box. The ABC stamp set was used to spell out the words.

When I was all done decorating the box I filled it with essential sewing supplies like pins, needles, thread, buttons and stitch witchery.

Easy as pie–I had a uniquely crafted sewing kit to give to my brother.

DIY Sewing Kit 7

Sewing Kit 3

DIY Sewing Kit1

DIY Sewing Kit 8

There are so many creative ways to use stamps when crafting so head over to the Craffiti Direct website and check out the full line of stamps.

To see all the Mark Montano stamp designs head here. 

Happy Crafting!

Shelly

Products Used (click on photo to buy):

CD-HM0009-504x880 (2)             CD-MM0002-504x880 (2)    434343

  763367       7090095  prd5147

 
Decorative scrapbook paper from Hobby Lobby
Sewing supplies from Wal-Mart


Let’s Get Crafty–Stamped Gift Box

I’ve been in a crafting mood lately and this project is right up my alley.  It combines my love of crafting with my love for gifting and giftwrap.

Candle Gift Box by ConfettiStyle 13

One of the items I love to gift (and get) most are candles.  Often times I buy my candle gifts at HomeGoods or TJMaxx because they usually have a variety to select from and the price is right.  The only downside is that many of their candles don’t come in boxes which means you have to come up with your own packaging.

I have several friends with birthdays in April so the other day I headed to HomeGoods in search of a candle and found this one.  The glass jar was really pretty and classic but I knew to give it as a gift I would need to put it in to some kind of gift packaging.

IMG_8211

I decided to make a pretty custom gift box.  This is a pretty simple project and the box becomes an added gift that the recipient can use as décor in their home.

To create the gift box I used a  few crafting supplies and clear stamps from CraffitiDirect,  including one of the new sets from expert crafter Mark Montano .

Candle Gift Box by ConfettiStyle11

Supplies Used:

Hinged Wood Box
Mark Montano Vintage Nature stamp set from Craffiti Direct
Thank You Flowers stamp set from Craffiti Direct
Sticker Paper
Tim Holtz Distress Ink Pad in Walnut Stain
Prima Markers
American Crafts Glitter Tape
Drawer Knob from Hobby Lobby

I knew I wanted to add a handle to my box so before I got started with the paper design, I drilled a hole in the lid of the box to fit a decorative knob I picked up at Hobby Lobby.

To cover  each side of my wood box, I stamped five sheets of 4″ x 6″ sticker paper using the Thank You Flowers Stamp and the Mark Montano Vintage Nature set.  Once stamped and colored in using Prima markers, I placed the sticker paper to the top and sides of my box and then cut off the excess paper.

Candle Gift Box by ConfettiStyle9

The box had a hinged lid so I used my exatco blade to cut the paper between the opening and around the back hinges.

Candle Gift Box by ConfettiStyle8

To finish the edges and add more dimension I used glitter tape to frame each side of the box.

Candle Gift Box by ConfettiStyle5

And as an extra touch I covered the front and back of  a couple of small matchboxes with stamped sticker paper using one of the beautiful butterfly image from the Vintage Nature stamp set.

Candle Gift Box by ConfettiStyle7

I’m addicted to decorative match books now!

Candle Gift Box by ConfettiStyle4

Candle Gift Box by ConfettiStyle2

Each side of the box has a different design layout so it is really unique.

Candle Gift Box by ConfettiStyle 14

Candle Gift Box by ConfettiStyle 15

Creating your own decorative gift wrap is an easy way to personalize any gift you give.  I hope you enjoyed the project and hope that it inspired you to get crafty!

Shelly


Tips for Styling a Coffee Table

ConfettiStyle5

ConfettiStyle9

ConfettiStyle10

ConfettiStyle3

Confettistyle1

ConfettiStyle14

Styling bookcases and table surfaces are two of my favorite things to do and that often results in constant changes with my personal décor.  My coffee table décor is a great example.  I change the look on a frequent basis, switching out decorative elements, moving books around, adding flowers and re-working the arrangement.  While there are no set rules for decorating a coffee table, there are certain types of items and a few design tips I use that have proven themselves time and time again.

1)  LAYERING is one of the most important elements in achieving a great layout for  your coffee table décor.  Stacking books and using decorative elements that are different heights and widths  are ways you can create layers. In my current coffee table arrangement I’ve layered the gold spike sphere, decorative jar and small silver urn on a tray which gives the smaller items more impact.

2) TRAYS are one of my go to coffee table décor items.  I am constantly collecting them and changing them out from season to season.  The animal print tray above is one of my all-time favorites and was an awesome find at a thrift store for only $7.00!  Using a tray in a contrasting shape from your table shape is another tip I like to use.  A round tray on a square table provides visual contrast.

3)  BOOKS are always a good thing!  I always have books on my coffee table, sometime several stacks at one time.  Use books that reflect your personal interest and stack graduating sizes together to create layers and to use as risers for other objects.

4)  When it comes to the DECORATIVE ACCESSORIES you use on your coffee table the only criteria I have is to use things I love or things that I use.  Candles are a must and I often place them in decorative jars which still allows me to use the candle but adds a decorative look to the table.  I almost always have a decorative box on my coffee table too.  It’s a great place to store the remotes, matches and coasters. A few other things to keep in mind with your coffee table accessories…use a variety of items, incorporate different finishes and texture and add something unique and interesting.  Your coffee table décor should be a reflection of you.

5)  FLOWERS are one of my other go-to coffee table accents.  They add volume, color, texture and visual movement while softening the entire table arrangement.

Like I said, there is not right or wrong way to decorate your coffee table. Spend a little time pulling together the items you want to decorate with and have fun creating an arrangement that speaks to you!

***************

BOOKS:  Soiree, Vogue Living, Cupcakes and Cashmere, Inspired You, Decorate, Vintage Remix, The Perfectly Imperfect Home
Wood Slice–HomeGoods (similar HERE// Tray–thrifted (similar HERE// Magnifying Glass–HomeGoods (similar HERE) //  Z Gallerie Gold Sphere //  Silver Urn–thrifted (similar HERE) // Ceramic Jar–HobbyLobby (similar HERE// Cloche and Base–Smiths Home // Vintage Spool–(similar HERE) , Sheet Music–my vintage collection
 
Favorite Candles: 
Nouvelle Crepe Myrtle
Archipelago Eucalyptus
Votivo Red Currant
 
Shelly

Christmas DIY: Jingle Bell Ribbon

In my world, when I come across an idea my first thought is not where can I buy that.  My first thought is usually ‘how can I make that?’
When I started thinking about my Christmas décor and began writing down ideas in my ideas book, I knew I wanted to craft a lot of what I’d be decorating with this year.
While at the Country Living Fair in October I spotted this burlap ribbon with jingle bells and knew I wanted to recreate the look for my tree.
Country Living Fair 2013 (89)

Read the Post

DIY Sweater Top Table

It’s not everyday that I jump on a design trend but after writing about the trend of cable knits in this post, I decided I loved the look and wanted to do a little diy project so I could add this trendy style statement to my home for fall.
This cute flea market table (actually its a stool) was the starting point
IMG_6900
and after covering it in a thrift store cable knit sweater and adding nail heads it looks like this.

The perfect little beverage table for fall.

DIY Cable Knit Table (2)
The table had a wood top and metal legs and it folds up flat for storage (bonus)!
DIY Cable Knit Table (5)
The table is the perfect size to sit next to a chair and the top is the perfect size for mug of hot chocolate and a favorite book.
DIY Cable Knit Table (4)
I used antique bronze nail heads I picked up at Hobby Lobby ($4.99 less 40%) to detail the top edge and I painted the tips of the legs antique bronze to make the table a bit more sassy!
It took me and my husband working together to get the nail heads positioned and nailed in.  But if you want to try this, my friend Tina shared a great tip for placing nail heads on a rounded surface.  Cut a piece of plastic cross-stitch mesh to fit your surface area and use the open squares as a guide for placing your nail heads.  Brilliant!
pcanvas
DIY Cable Knit Table (1)
I couldn’t be more pleased with my table and I absolutely love the texture of the cable knit and the cozy touch it adds for fall.
Cost Breakdown:
Flea Market Stool $4.00
Cable Knit Sweater (Goodwill) $4.97 less 50%
Nail heads (Hobby Lobby) $4.99 less 40%
Ant. Bronze Rub-n-Buff (from my stash)
Total cost less than $ 10.00
 
 design tip:  never pass up a small stool, bench or table if it’s a good price because they can be used in so many areas and in so many ways.
 
I’m using the rest of the cable knit sweater on a few other projects and will show you those soon.
 
Shelly

Copyright © 2024 · Theme by 17th Avenue

Copyright © 2024 · Amelia on Genesis Framework · WordPress · Log in