Inspiration Notebook | November 2017

Wow, it’s hard to believe that were closing in on the end of 2017.  The year has flown by and it seems like yesterday that we were celebrating the arrival of spring.

Today I’m sharing another chapter from my Inspiration Notebook with you.  I started creating my notebook in 2015 as a way to capture in pictures and words the things that are inspiring me at the moment. It’s been so fulfilling taking time each month to create a visual record of what’s going on in my life.

Let’s take a look at what’s on my mind and has me inspired for November…

Inspiration Notebook--November 2017 by ConfettiStyle

INSPIRATION NOTEBOOK

NOVEMBER 2017

Inspiration Notebook--November 2017 by ConfettiStyle

Have you picked up a copy of Oprah’s new book, The Wisdom of Sundays? {affiliate link}  I’m just a few pages in and boy is it a great reminder and motivator on how to live your best life.   This is definitely a book you want to add to your Christmas list.

Speaking of living your best life, I’m going to start decorating my house for Christmas this weekend.  I’ve got some fun things planned and can’t wait to share them with you.  Plus I’m hosting the Merry & Bright Holiday Home Tour again this year with a group of great blogging friends .  The tour of homes kicks off on November 29th so stay tuned for loads of holiday inspiration.  And if you want to check out my Christmas decor from last year, you can see it here.

Inspiration Notebook--November 2017 by ConfettiStyle

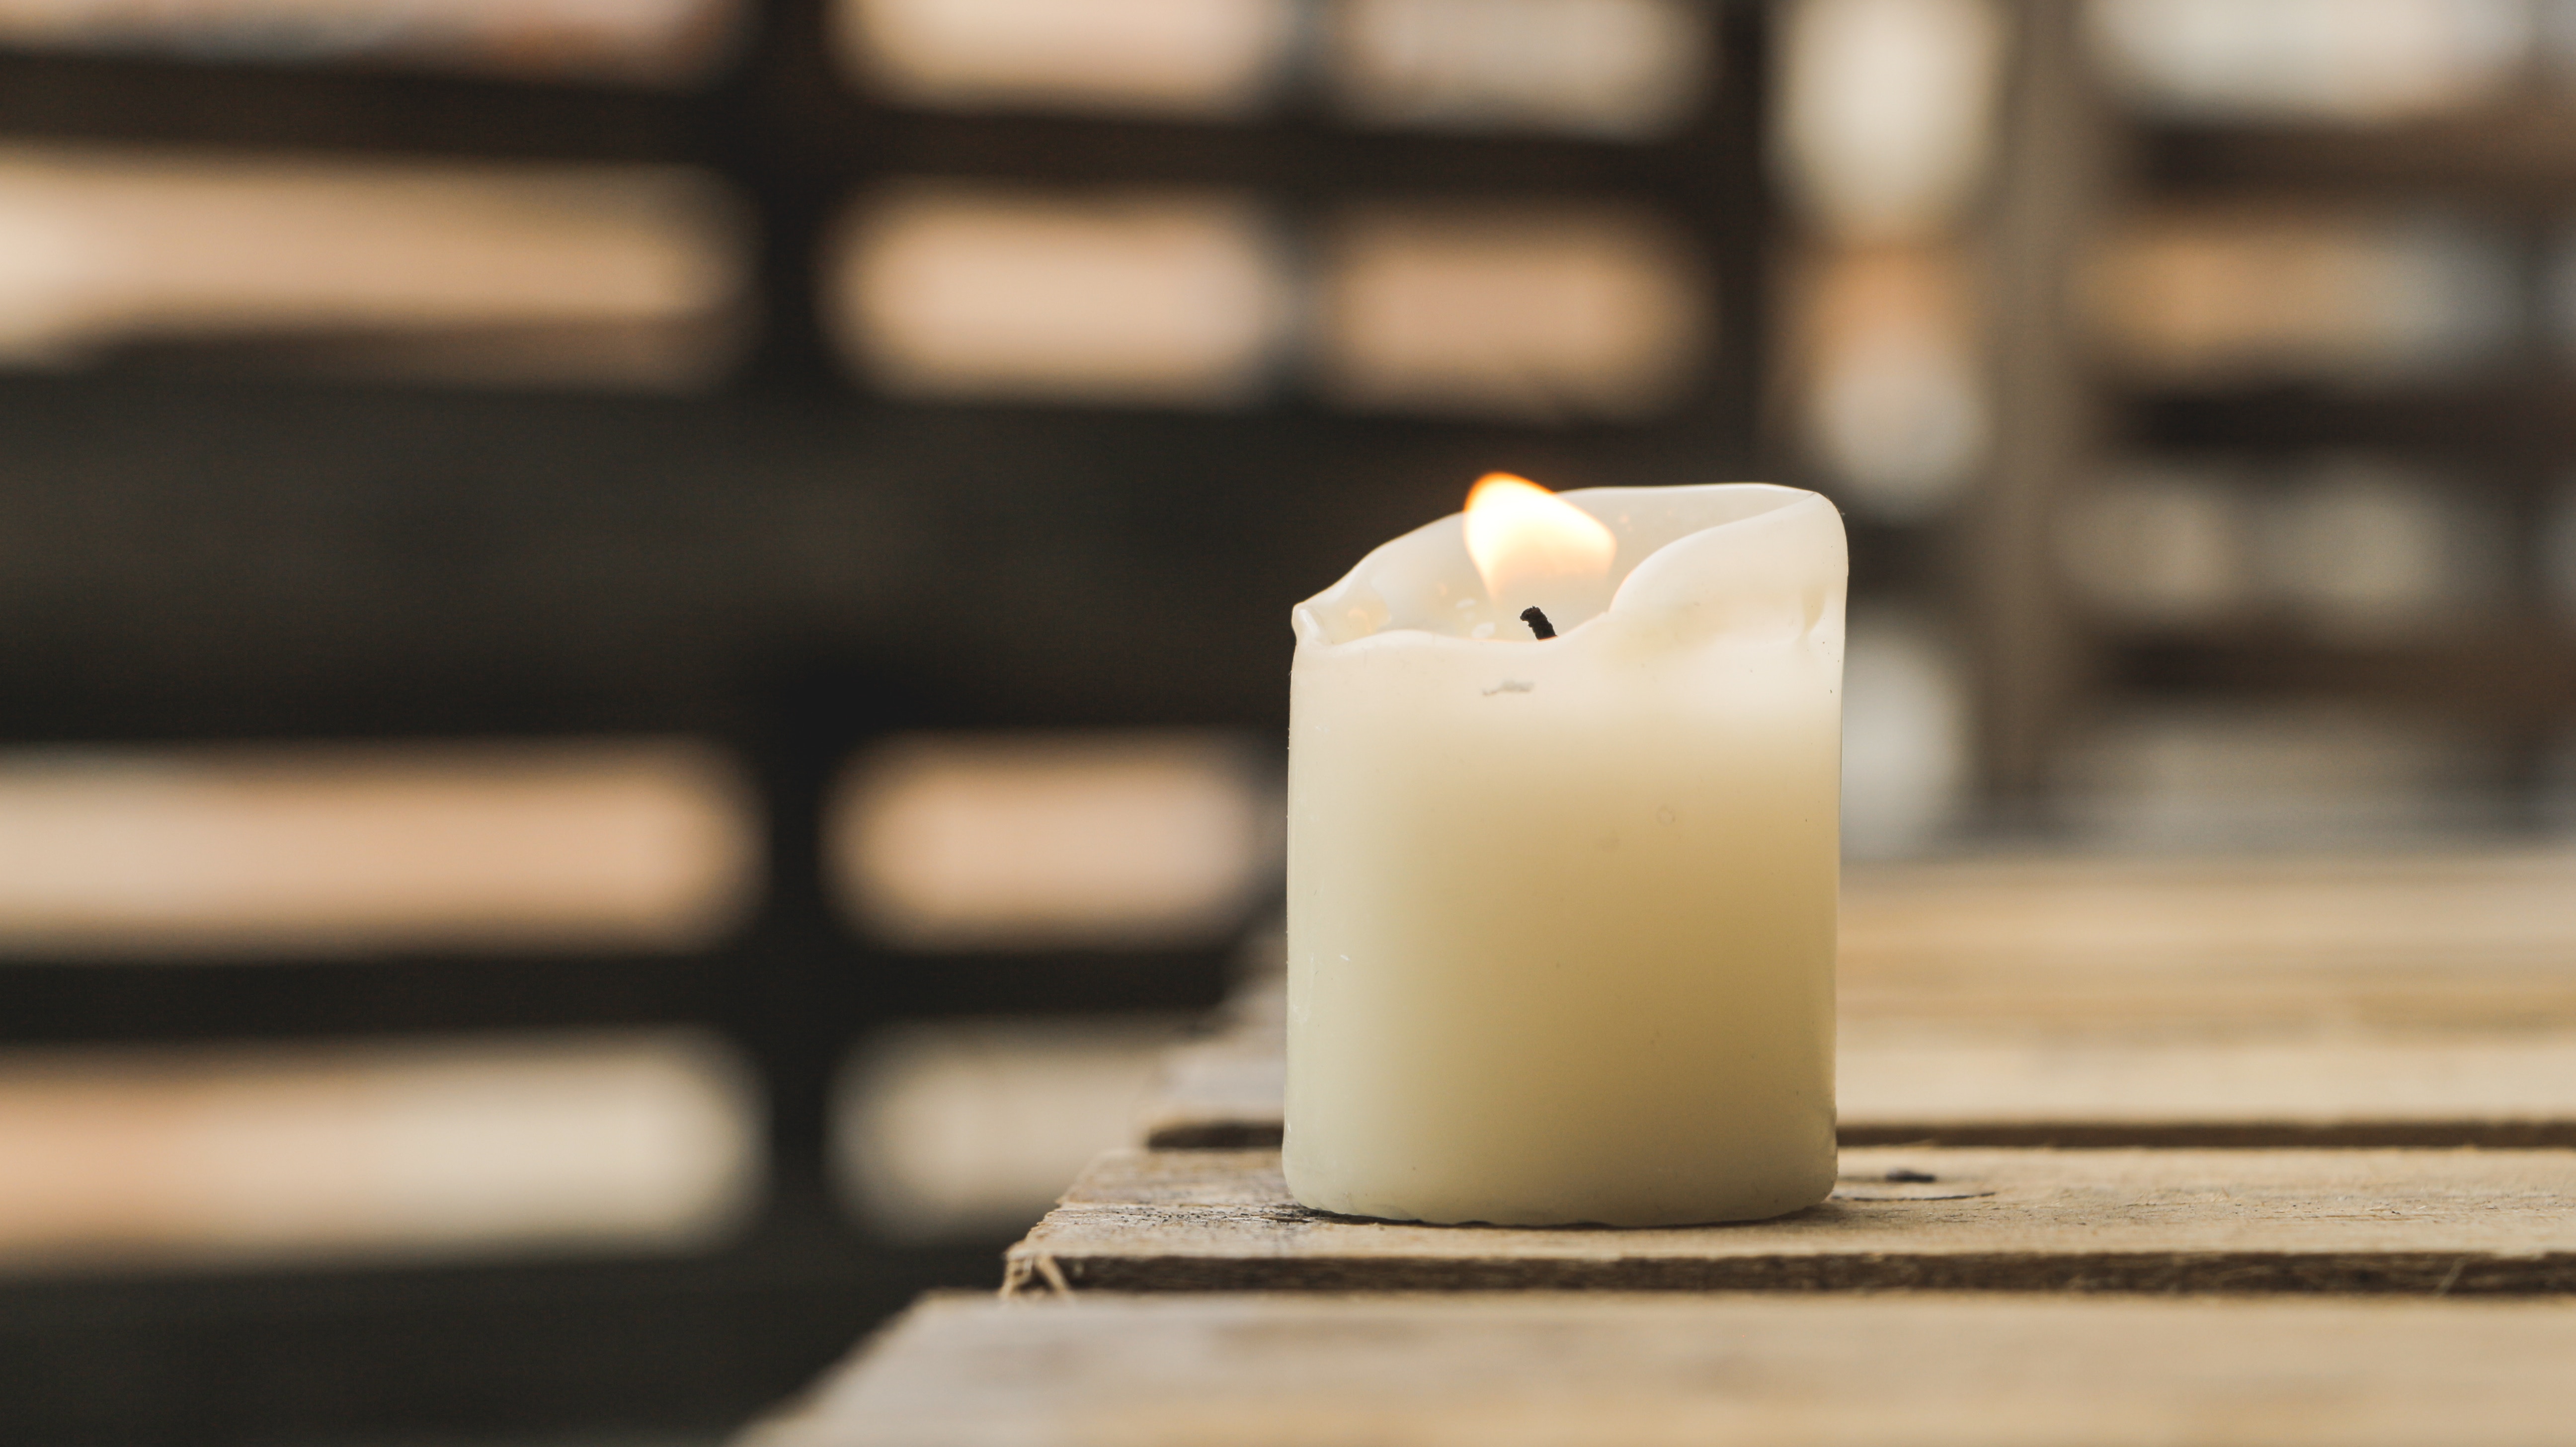
During fall and winter, one of the little things that brings me joy each morning is relaxing with a cup of tea.  I start my mornings sipping from a pretty teacup and easing into my day. (in case you were wondering, Twinings Green Tea is my favorite and this is my go to store for pretty teacups).

When it comes to my nighttime rituals, I’m striving for less time in front of the tv and more time whittling down my stack of magazines.  Theres a stack of Christmas magazines on my nightstand just waiting to be read.

Inspiration Notebook--November 2017 by ConfettiStyle

Finally, now that the weather is cooler, I’m shopping for a couple of new scarves to add to my wardrobe.  I have this geometric print and this floral scarf in my shopping cart and both of them are a great price.

Well friends, that’s a brief look at the month ahead from the pages of my Inspiration Notebook.

 Thanks for stopping by today. Be sure and come back tomorrow because I’ll be sharing my 2017 Christmas decor theme.  It’s a fun one!


How To Burn A Candle The Right Way

How To Burn A Candle The Right Way by ConfettiStyle
I’ve always loved to burn candles but for years I was burning them the wrong way.  It wasn’t until I started working in the home decor industry that I learned the right way to burn a candle.

Are you one of those people who burns a candle and finds half the wax still in the jar once the wick has burned down?  Well, you’re not alone.  There a lots of people who don’t know how to burn a candle the right way. Today I’m sharing candle burning tips so you can get the most out of your favorite candle scent.

Candle Burning Tips & Tricks

Trim the wick

This is one of the most important things you can do when you’re burning any type of candle.  Trimming the wick produces a cleaner burn and prevents soot build-up around the jar opening.  An untrimmed wick can result in smoke and the wick flaring and mushrooming at the tip. For the initial burn and before every burn thereafter,  you want to trim the wick to 1/4 inch long.

Burn the wax all the way across the top

The first time you burn your candle is the most important since it will determine how the wax will burn for the life of the candle.  For the first burn, burn the wax all the way across the top of the candle.  The wax should be liquid from edge to edge. It may take several hours for the full melt to occur so be patient. If you fail to let the wax melt all the way across the candle, the wax will create a tunnel in the center of the candle.  The diameter of the ‘tunnel’ will not increase over time and all of the wax beyond the outer edge of the tunnel will be wasted.

tip:  it takes approximately 1 hour of burn time for every 1” inch in diameter for the entire surface of a candle to become liquid 

Don’t over-burn candles

In most cases, candles should not be burned for more than 4 hours at a time.  Extended periods of burning can result in a flared wick and soot build-up.  Once your candle has burned for a few hours, blow out the flame and let it cool for 2 to 3 hours before trimming the wick and re-lighting it.

Keep the flame away from vents and moving air

If your candle flame is being impacted by moving air, the air will cause the candle to burn unevenly.  This is especially true with taper candles resulting in heavy wax drips  down the sides of the candle. Try placing a jar candle inside a large glass vase or open container to reduce the amount of air that comes in contact with the flame.

Sometimes two wicks are better than one

If you need an extra wide candle for a candleholder or vase, look for a candle with more than one wick.  A wide candle with a single wick will never produce enough heat for the wax to fully melt across the top so you’re destined to get a tunnel.  The more wicks a candle has, the more heat it will generate and the faster the wax will melt.

Put a lid on it

An easy way to preserve the intensity of fragranced candles is by putting the lid back on the jar when you aren’t burning it.  Exposing an open candle to prolonged periods of  air can reduce the strength of the fragrance over time.

Stop the burn when the wax is approximately 1/2 inch from the bottom of the jar

When the wax is approximately 1/2 inch from the bottom of the jar, the heat at the bottom of the jar can actually burn the surface it is sitting on.  If there is only a 1/2″of wax left in the jar, you’ll want to throw the candle away.

 If the candle comes in a jar that you want to keep, there’s an easy way to remove the wax.  Once the wax is cool, place the jar in a pan and fill the pan with hot water.  The hot water will soften the wax so you can break it up with a knife.  Once the wax is out of the jar, fill the jar with soap and water to remove any residue.  Then place the jar in the dishwasher to get it sparkly clean.

Now that you know all my candle burning tips, here’s a round-up of my favorite fall candles (affiliate links included).

♦♦♦

FAVORITE FALL CANDLE SCENTS

How To Burn A Candle The Right Way by ConfettiStyle

BathandBodyWorks Leaves // Votivo Red Currant // Nest Cedar Leaf & Lavender // Voluspa Baltic Amber 

Thanks for stopping by the blog today. I hope you found these tips helpful.  If you have a favorite fall candle scent, please leave me a comment so I can check it out!


Affiliate links used for your shopping convenience. I may earn a small commission through these links at no extra cost to you. Thanks for supporting ConfettiStyle to keep great content coming!


New House Diary: Master Bedroom Design Plan

New House Diary--Master Bedroom Design Plan by ConfettiStyle

Hi friends.  I’ve decided to start a new series here on the blog called New House Diary.  The new series document the decorating journey of our new home.  I’ll be sharing the design plans as well as before and after photos so you can see the spaces come to life.  I’ve already shared the design plans for the office  and the living room and today I’m sharing the plans for our master bedroom.

We’ve been in the house for two months and are moving at a snail’s pace when it comes to decorating.  We have yet to hang artwork or curtains and we’re still waiting for our new sofa to arrive.  Fingers crossed it will be here next week!

When we moved, I made the decision to take my time decorating. That decision has been both good and bad.  The downside is that we’re still unloading boxes and trying to get closets, cabinets and drawers organized.  The positive thing is that taking my time is helping me make the right design decisions.

Here’s a look at our master bedroom the day we closed on the house.  The carpet was in desperate need of replacing and the paint colors were not at all appealing to me.

New House Diary--Master Bedroom Design Plan by ConfettiStyle

The bedroom is a good size but there aren’t many options when it comes to arranging the furniture.

New House Diary--Master Bedroom Design Plan by ConfettiStyle

Here’s the space plan for the room…

New House Diary--Master Bedroom Design Plan by ConfettiStyle


I want for the room to have a calm, sophisticated and warm look and feel so that’s what inspired the colors and design plan.

The walls are painted a soft grey, Whisper by Benjamin Moore and I absolutely love the color. All of the trim is BM Simply White (semi-gloss) and the doors are BM Black Satin also in semi-gloss.  I’ll be introducing darker grey through some of the accent fabrics the fabrics which will give the space more depth.

New House Diary--Master Bedroom Design Plan by ConfettiStyle

We already own most of the furniture for the room but are purchasing a couple of new pieces to complete the space. And I’ve got new linens and decor on my shopping list too.

Master Bedroom Design Plan…


New House Diary--Master Bedroom Design Plan by ConfettiStyleTo add dimension and visual interest to the neutral color palette, I’ll use patterned pillows and textured linens. The neutral foundation will also make it easy to  change the look seasonally, adding more color during the warmer months.

The plan is for velvet curtains and to use velvet on a bench that I’m having recovered.  Brass lighting will add a touch of shine and glam within the room.  I have one vintage brass lamp that I want to use on the nightstand and I’m hoping to luck upon a matching one at an antique or thrift store.

 The pillows patterns I’m showing are the general direction that I want to go, using a plaid, floral and animal print together.


New House Diary--Master Bedroom Design Plan by ConfettiStyle


I’m planning to have our bedroom complete before Thanksgiving so stay tuned for the reveal.


Black Nightstand 

Black Undredal Dresser (I’m planning to change our the drawer hardware)

Washed Percale Waffle Duvet Cover (also available in grey)

Charcoal Grey Plaid Pillow

Schumacher Linen Leopard Animal Print Pillow

Schumacher Pyne Hollyhock Pillow

Brass Chandelier

Charcoal Curtain Panels

Decorative Trim (similar here)

Upholstered Bench (I’ll be recovering one I already own)

Vintage Brass Lamp (similar here)

Medallion Rug

Design Guide: Mixing Metal Finishes In The Kitchen

Design Guide: Mixing Metals In The Kitchen by ConfettiStyle

Have you noticed that more and more kitchen designs are incorporating a mix of finishes in their hardware?  Gone are the days of hardware, lighting and appliances  all being one finish like brushed nickel or oil rubbed bronze.  Today it’s an eclectic mix of design details that bring a space to life.

When you’re planning your kitchen hardware selections, think of if like you would jewelry to an outfit.  The style of hardware + the finishes you use all help to complete the look of your kitchen decor.  Combining silver, gold, brass, or iron is also a great strategy for adding visual interest and depth to the kitchen or any space in your home.

Here are the do’s and dont’s of mixing metals to achieve the best results:


The Art Of Mixing Metals In The Kitchen

♦♦♦

Design Guide: Mixing Metals In The Kitchen by ConfettiStyle

This stainless steel backsplash makes a powerful focal point.  image source: Traditional Home


Design Guide: Mixing Metals In The Kitchen by ConfettiStyleAlong with mixing metals, I also love the look of wood combine with granite or stone.  image source:  House Beautiful


Design Guide: Mixing Metals In The Kitchen by ConfettiStyle

A pretty patterned floor offset with a mix of finishes makes for a stunning statement.  image source: Becki Owens

Design Guide: Mixing Metals In The Kitchen by ConfettiStyle

These brass pendant lights create a dynamic focal point against white cabinets and walls.  image source: Elizabeth Lawson Design

Design Guide: Mixing Metals In The Kitchen by ConfettiStyle

How stunning is this copper range hood?  Copper is a great alternative to brass especially if you want a rustic chic look.  image source: Artofrain


It’s taken me a few years to warm up to mixed metal finishes but now I’m a convert.  I’ve grown to love the look and I’m planning to incorporate different finishes into my own kitchen decor.


Caliente-Benjamin Moore 2018 Color Of The Year

Benjamin Moore 2018 Color Of The Year--Caliente Red AF-290


This is the time of year when we start seeing color and design predictions for the coming year.  Following a year of in-depth research and culling through thousands of colors, Benjamin Moore has picked a bold, dynamic red called Caliente.

Benjamin Moore 2018 Color Of The Year--Caliente Red AF-290


Ellen O’Neill, Director of Strategic Design Intelligence for BM describes Caliente like this…

” Strong, radiant and full of energy, Caliente AF-290 is total confidence.  It is pleasing, passionate and makes people feel special, like “red carpet treatment’!

And used these words that evoke the emotion of Caliente…

Benjamin Moore 2018 Color Of The Year--Caliente Red AF-290

Benjamin Moore 2018 Color Of The Year--Caliente Red AF-290

Back in the 90’s red was the go-to hue for dining rooms and occasionally used in a bedroom.  Today, power colors are trending which makes Caliente perfect for any room in the house.

Benjamin Moore 2018 Color Of The Year--Caliente Red AF-290

Benjamin Moore 2018 Color Of The Year--Caliente Red AF-290

I love red on an exterior door.  What a way to make a first impression!

Benjamin Moore 2018 Color Of The Year--Caliente Red AF-290

Here are a few tips to keep in mind if you’re considering decorating with Caliente or other bold hues:

  1. Determine whether you can commit to using an intense color in your home and just how much you want the tone represented.  If you determine that an entire room painted in a  bold statement would be too much, use it in a smaller space like a powder room, office or hallway.  For dramatic impact with even less commitment, try painting an accent wall in your favorite bold hue.
  2. Consider the lighting in the room.  Rooms with lots of natural light can handle a bold color more effectively than dark spaces.  Natural light can amplify the room without feeling overpowering.  Darker space with bold colors can feel more dramatic and moody.
  3. Contrast a bold color with a crisp white trim.  Bright white will intensify bold colors and make them pop which providing a string contrast.
  4. Once you select your bold color statement, make sure to incorporate accent pieces in the room that create a cohesive color statement.  Artwork, rug and pillows that incorporate your color choice will tie the rooms’ design together.

I couldn’t be more thrilled about Benjamin Moore’s selection since red happens to be my favorite color.  Even though I didn’t have red as part of the decor plan for our new house, I’m now rethinking that.  To learn more insight on how Benjamin Moore selected Caliente, check out this video they created.

Benjamin Moore 2018 Color Of The Year–Caliente


Holiday Workshops With Steve McKenzie’s

Holiday Decorating Workshops With ConfettiStyle Interiors

Holiday Workshops with Steve McKenzie’s

One of the things I love to do is conduct decorating workshops. So, I’m thrilled to be partnering with Steve McKenzie’s again this year to conduct two fun & creative holiday workshops.  In each workshop I’ll be sharing unique and stylish holiday decorating ideas that you can use in your own home.

The first workshop will take place on Saturday, November 4th from 10:00-11:00 am where I’ll be sharing 20 dynamic ways to add holiday touches all around your house.

Head over to Eventbrite to get your tickets and reserve your spot today.

Holiday Decorating Workshops with ConfettiStyle Interiors

Holiday Workshops with ConfettiStyle Interiors

And make sure to save the date for the second workshop which will take place on Saturday, December 2nd from 10:00-11:00 am.  Back by popular demand, this  workshop is all about creative holiday gift wrapping, from the basics and beyond. Registration for this workshop will open on November 1st and I’ll be sharing more details soon!

Holiday Workshops--Gift Wrapping with ConfettiStyle Interiors

I hope you’ll join me at Steve McKenzie’s as we celebrate the holiday season!


Fall Tablescape Design–Autumn Elegance

Fall 2017 Tablescape Decor by ConfettiStyle

Hi friends.  You might have noticed that I’ve been challenged with keeping a regular blogging routine that past couple of months. Life has been a whirlwind of activity lately with the move to our new house, work demands and an extended vacation thrown into the mix. I’ve wanted to be here with you everyday but as I struggled to keep up with life’s demands, I made the decision to give myself a break.  My blog is a bright spot in my life and I want to share and inspire you but I can’t do that if I’m not feeling like I’m giving you my best.  Sometimes in life you just have to stop and take a breath and that’s what I’ve allowed myself to do.

  Even though life continues to be busy I’m slowing easing back into a routine and getting back on track.  Thanks for hanging in there with me and continuing to follow and support the blog.

Ok, enough about my busy life, its time to get to some fun fall decorating.

 Today I’m sharing my Fall Tablescape with you.  I’m calling it Autumn Elegance because it a fun combination of chic and rustic.

p.s.  there’s a full source list at the end of the post to make shopping easy for you

Fall Tablescape:  Autumn Elegance

Fall Tablescape Decor by ConfettiStyle

The color theme I choose is a twist on a traditional fall color palette.  The mix of terra-cotta orange with blue & white and shades of green give the table the feeling of fall but with a lighter edge.  And the wood elements add the rustic touch.

Fall Tablescape Decor by ConfettiStyle

For the centerpiece, I used a vintage dough bowl and filled it with faux pumpkins, hydrangea and ornamental cabbage.  I love the look of real cabbage in an arrangement and was excited to find faux stems at the craft store.

Since my bowl is deep, I placed a few pieces of dollar store floral form in the bottom and nestled the flowers between the foam.  The foam also helps to elevate the pumpkins and keep everything in place.

Fall Tablescape Decor by ConfettiStyle

The place setting is where the mix of chic and rustic elements come together. I mixed my elegant Blue Willow china with casual Fiestaware plates and the wood charger.  I found the  Bird of Paradise bread plates last week at an antique store and they are perfect for my color theme. And to add another rustic touch, I used my favorite faux bamboo flatware to complete the place setting.

Fall Tablescape Decor by ConfettiStyle


Fall Tablescape Decor by ConfettiStyle

I’m all about layers when it comes to creating tablescapes so I also mixed in several different accent plates.

Fall Tablescape Decor by ConfettiStyle

Our dining space is not fully decorated yet but I did add a few fall touches to the buffet.   I kept the arrangement eclectic and used a pair of tortoise hurricanes, ceramic pumpkins and brass pineapples. The tortoise hurricanes I snagged at Pottery Barn on super sale but these from Amara are similar.

Fall Tablescape Decor by ConfettiStyle

Fall Tablescape Decor by ConfettiStyle

Fall Tablescape Decor by ConfettiStyle

Fall Tablescape Decor by ConfettiStyle

I just love how lush and layered the centerpiece is.  It really is the star of the show and sets the tone for the entire table.

Fall Tablescape Decor by ConfettiStyle

I love how this tablescape came out!  I think it’s so warm & inviting and just the look to get me in the spirit of the season.

How do you decorate your table for Fall?  Do you go with neutrals or traditional Fall colors?

Fall Tablescape Design Tips:

*  Find one item that can serve as the jumping off point for your table decor.  Use it to pull your color story together and to decide the style of your table.

Create a focal point with your centerpiece.   If you’re creating a larger floral arrangement as your centerpiece, pay attention the height.  You want to make sure and keep the arrangement low so conversation can easily flow across the table.

*  Make sure your tablescape has depth vertically and horizontally…layer from the bottom up and from side to side.  My centerpiece provided horizontal impact on the table  and the layered place settings gave the table visual interest.

*  Candles are a must…Candles could be tall candlesticks or small tea lights depending one your table decor.

*  Personalize your place settings.  Use place cards, napkins or decorative element within your tablescape to add the personality to your table.

*  Mix and Match to make the table come to life.  Combine different china patterns, linen textures and materials to add personality and interest to your table.   I love mixing refined china and cauual dinnerware and using a combination of silver and gold finishes.  The perfect mix of rough luxe!

and finally,

*  Layer, Layer, Layer!  I’ve mentioned this before but can’t stress enough how much layering will enhance your tablescape.

♦♦♦♦♦

Fall Tablescape Source List: 

Orange Tablecloth (similar here)

Blue and Orange Dinner Napkins (Pier 1 on clearance. Etsy is a great source for custom embroidered napkins)

Bamboo Flatware  (purchased at Neiman Marcus but also available here)

Wood Charger Plate (thrifted–similar here)

Blue Willow Dinnerware (lots of vintage options here)

White China 

Orange Fiestaware Plates (available in every color under the rainbow)

Small White Cake Stand (Target dollar spot last year but you can get them here for under $4.00)

Blue and White Coasters–vintage/thrifted

Large Dough Bowl–Lakewood Antiques Market 15 years ago–great vintage source here)

Pumpkins–Target (dollar spot) and Hobby Lobby

Faux Cabbage (looks like the real thing)

Silk Hydrangea

Fall Tablescape Decor by ConfettiStyle

For more entertaining and table design inspiration, check out some of the other tablescapes I’ve created:

Bohemian Inspired Table

Autumn 2016 Tablescape

Fall in Natural and Gold

Thanksgiving Table for Two


Affiliate links used for your shopping convenience. I may earn a small commission through these links at no extra cost to you. Thanks for supporting ConfettiStyle to keep great content coming!

My Home Office Design Plan | The Vision

One of the rooms I need to get pulled together as soon as we return from our vacation is my office.  I am going to be turning the bedroom on the lower level or our townhouse in my office and creative space. The room is fairly large and has a wall of windows that I love. When we bought the house, the room was painted an admiral blue and had carpeting that was in desperate need of changing. Here’s a before photo I snapped with my iPhone.

Home Office Design Plan by ConfettiStyle

Before we began moving in, I had the entire house painted and choose a soft color palette for this room. I haven’t been able to take any after photos yet because the room is filled with boxes but I’ll share those when I start decorating this space.

 The walls were painted Benjamin Moore Whisper and I freshened up the trim with BM Simply White and I used Black Satin for the doors.  The biggest change came when we removed the carpet and had hardwood floors put in.


When I started thinking about how I wanted to decorate my office, I had several things to consider.  In addition to providing ample space to work on design projects, I also need storage for my Etsy shop inventory.  And I wanted the space to feel more like a living space and less like a traditional office.

I started looking around for inspiration and came upon several office space images that spoke to me.

Ballard designs

decor pad

source unknown

HOME OFFICE DESIGN PLAN

After finding my inspiration I’ve come with a design plan that I’m excited about.  The general feel for the space will be sophisticated and elegant with lots of black and brass.  I’m also planning to infuse pink and blue & white into the space to add pops of color.

A lot of the furniture I’m looking at is from Ikea and most of the accent pieces are items I already own.  Here are some of the pieces I’m considering…

Ikea Ingatorp Table

Billy Bookcase with Glass Doors–Ikea

Brass Desk Lamp from Target (also available in black)

Black and White Herringbone Rug–Rugs USA

Home Office Design Plan by ConfettiStyle

I’m looking forward to getting started decorating this space.  Because I’ll be spending lots of time in my office, I’m making sure it is the perfect blend of style and function.

Copyright © 2024 · Theme by 17th Avenue

Copyright © 2024 · Amelia on Genesis Framework · WordPress · Log in